
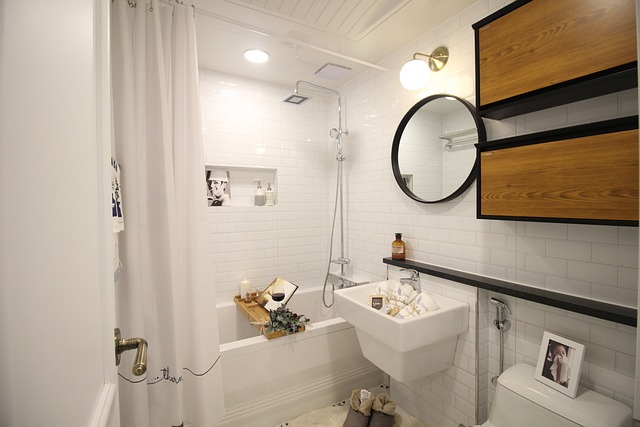
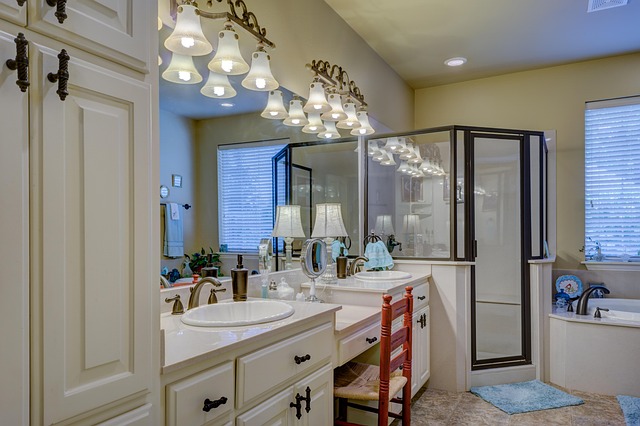
Maintaining clean bathroom tiles involves regular pH-neutral detergent cleaning with soft tools. Sealing is crucial for hygiene, aesthetics, and tile longevity; choose the right sealant based on tile type and environment. Proper application and reapplication every 12-24 months protect against moisture, stains, and mold while preserving a glossy finish. Regular mild soap cleaning between sealings keeps your bathroom fresh and safe.
“Elevate your bathroom’s hygiene and aesthetics with tile sealing—a powerful tool in any homeowner’s arsenal. This comprehensive guide explores the intricacies of maintaining pristine bathroom tiles, starting with a deep dive into understanding the fundamentals of cleaning. We uncover the compelling reasons to seal your tiles, highlighting benefits that extend beyond sparkle.
From selecting the perfect sealant to step-by-step application tips, this article equips you to transform your bathroom. Learn from common mistakes and discover expert maintenance advice to keep your sealed tiles looking fresh. By the end, you’ll be a tile sealing pro, ensuring your bathroom remains a sanctuary of cleanliness.”
Understanding Bathroom Tile Cleaning: The Basics
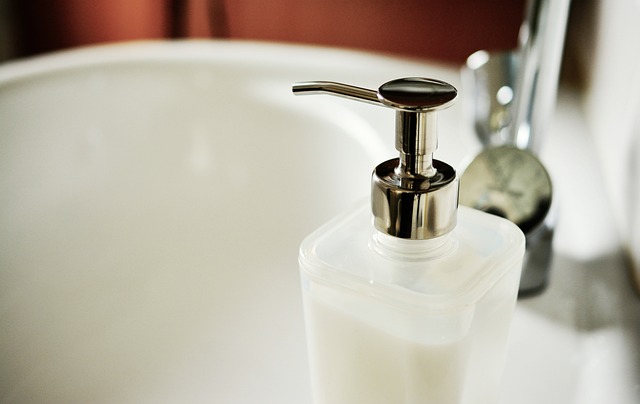
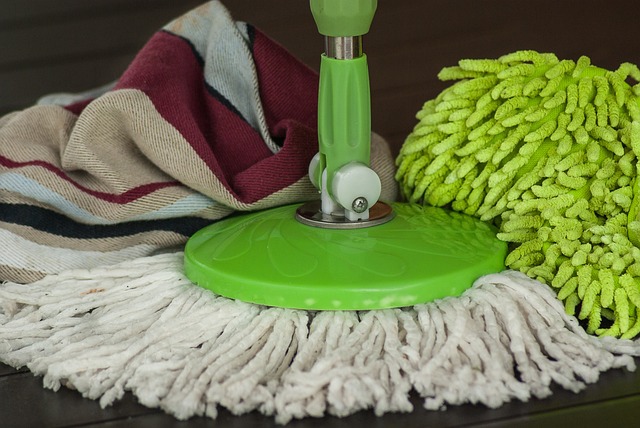
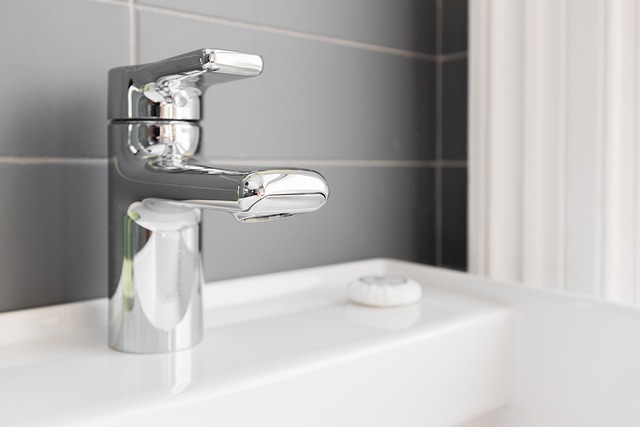
Bathroom tile cleaning is a crucial aspect of maintaining a hygienic and aesthetically pleasing space. At its core, it involves removing dirt, grime, and stains from the tiles and grout lines. Regular cleaning prevents buildup, which can lead to unsightly marks and even mold growth over time. The basics include using mild, pH-neutral cleaners that won’t damage the tile finish or etch into the surface. A soft-bristled brush or sponge, warm water, and a quick rinse are often all that’s needed for daily maintenance. For tougher stains, a bit of baking soda or vinegar can work wonders, providing an effective yet gentle cleaning solution.
Understanding the right cleaning methods is key to keeping your bathroom tile looking fresh and new. Avoid aggressive scrubbers or harsh chemicals, as these can damage the grout and tile surface over time. Additionally, proper ventilation during cleaning is essential to prevent respiratory irritation due to steam and chemical fumes. By mastering these simple yet effective techniques, you can ensure that your bathroom tile remains a highlight of your space, contributing to a clean and comfortable environment.
Why Seal Your Bathroom Tiles? Benefits and Advantages
Sealing your bathroom tiles is a crucial step in maintaining a clean and hygienic space. Over time, tiles can become porous, allowing moisture, dirt, and stains to seep into the surface. This not only affects the overall aesthetics but also creates an ideal environment for bacteria and mold growth. By sealing your tiles, you create a protective barrier that repels water, prevents staining, and makes cleaning easier.
The benefits of tile sealing are numerous. It prolongs the lifespan of your bathroom tiles by guarding against damage caused by moisture and dirt accumulation. Sealing also reduces the frequency of deep cleaning, saving you time and effort in maintaining a spotless bathroom. Additionally, sealed tiles contribute to improved air quality by minimizing the presence of mold and mildew, which can have adverse health effects. Efficient bathroom tile cleaning becomes achievable with this simple yet effective method, ensuring your space remains not just clean but also safe and healthy.
Choosing the Right Sealing Agent for Optimal Protection
When it comes to bathroom tile cleaning and protection, selecting the suitable sealing agent is key. Different sealing products offer varying levels of durability and water resistance, so understanding your needs is essential. For instance, if you have porous tiles, an impregnating sealing agent that penetrates deeply is ideal as it fills pores, preventing dirt and moisture from settling. On the other hand, for non-porous or glazed tiles, a surface-coating sealant provides a durable, water-repellent barrier without altering the tile’s appearance.
Consider factors like your bathroom’s humidity levels, traffic, and desired maintenance level when making your choice. High-traffic areas or bathrooms with frequent steam might require more robust sealants that can withstand constant exposure to moisture and wear. Regularly maintained, low-traffic spaces could benefit from lighter, easier-to-apply options. Always follow the manufacturer’s instructions for application to ensure optimal protection for your bathroom tiles.
Step-by-Step Guide: Applying Tile Sealant Effectively
Applying tile sealant effectively is a straightforward process that can significantly enhance your bathroom’s durability and attractiveness. First, prepare the tiles by thoroughly cleaning them with a mild detergent to remove any dirt or grease. This step ensures the sealant adheres properly. Once the tiles are dry, choose an appropriate time to apply the sealant—ideally, when the humidity levels are low to prevent premature drying or bubbling.
Begin by spreading a thin layer of sealant across the tiles using a brush or roller, ensuring even coverage. Work in small sections to maintain control and allow for easy clean-up. Let the first coat dry completely, typically according to the manufacturer’s instructions. After drying, inspect the surface for any missed spots or ridges, then apply a second coat for optimal protection.
Common Mistakes to Avoid During Tile Sealing Process
When sealing your bathroom tiles, avoid common pitfalls that can lead to poor results and premature sealing failure. One major mistake is not thoroughly cleaning the tiles before sealing. Dust, dirt, and grime can interfere with the adhesive properties of the sealer, leading to an uneven finish and weak bonding. Always follow recommended cleaning procedures for your tile type, usually involving a mild detergent and warm water.
Another frequent error is applying the sealer too thinly or evenly. Sealing should create a protective barrier without leaving visible streaks or puddles. Too much sealer can lead to a sticky surface that’s difficult to clean, while too little won’t offer adequate protection against moisture and stains. Follow application instructions carefully and use a soft brush or cloth for even distribution.
Maintenance Tips: Keeping Your Sealed Tiles Looking New

To keep your sealed tiles looking new, regular maintenance is key. Start with a thorough cleaning routine using mild soap and warm water to remove any dirt or moisture buildup. Avoid harsh chemicals that can damage the seal and erode the tile surface over time. Regular mopping and spot-cleaning are essential, especially in high-traffic areas.
Additionally, sealing your bathroom tiles periodically will extend their lifespan and preserve their appearance. Use a high-quality tile sealer designed for bathrooms to protect against moisture and stains. Follow the manufacturer’s instructions for reapplication, typically every 12–24 months, depending on usage and environmental factors. This simple step ensures that your tiles stay protected, maintaining their glossy finish and preventing absorption of water or stains from everyday use.
Frequently Asked Questions (FAQs) About Bathroom Tile Sealing

Frequently Asked Questions (FAQs) About Bathroom Tile Sealing
Q: Why is sealing important for bathroom tiles?
Sealing is a crucial step in bathroom tile cleaning and maintenance. It creates a protective barrier between your tiles and moisture, preventing stains from setting in and improving the overall longevity of your grout and tile finish. Regular sealing is especially important in humid bathrooms to ward off mold and mildew growth.
Q: How often should I seal my bathroom tiles?
The frequency depends on several factors including tile material, traffic, and level of humidity. As a general rule, it’s recommended to re-seal your bathroom tiles every 12 to 18 months or whenever you notice staining or loss of shine. Regular cleaning and maintenance with appropriate bathroom tile cleaning products will also extend the life of your seal.