
Understanding your bathroom tile types (ceramic/porcelain vs natural stone) is key to effective cleaning. Use suitable tools & products – floor scrubber, vacuum cleaner, non-toxic detergents, and wax/sealers. Deep clean strategically with a vacuum, brush, bucket, mild soap, warm water, and squeegee. Address stains with white vinegar, baking soda paste, or commercial cleaners. Seal tiles after cleaning to prevent dirt & moisture damage, improving longevity. Regular maintenance: wipe down daily, deep clean weekly, re-seal every few months for optimal cleanliness.
Tired of a grimy bathroom floor? Learn how to master bathroom tile cleaning with our comprehensive guide! From understanding your tile types to long-lasting maintenance tips, we’ve got you covered. Discover the essential tools and materials needed to tackle even tough stains and discolorations. Follow our step-by-step guide for a sparkling, sealed, and protected bathroom floor that will impress.
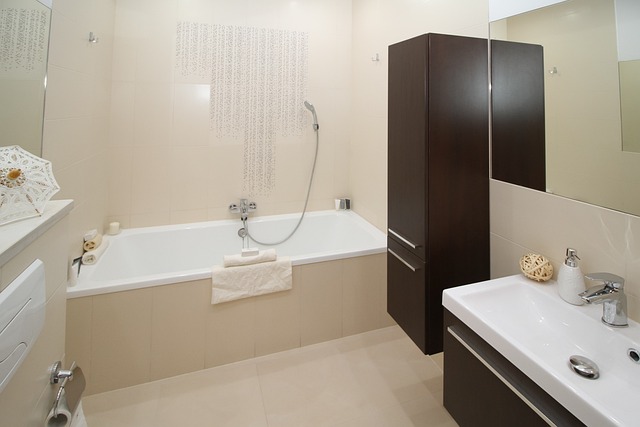
Understanding Your Bathroom Tile Types

When it comes to bathroom tile cleaning, understanding your tile types is key. Different materials require unique care to maintain their beauty and longevity. Ceramic tiles, for instance, are popular for their durability and water resistance, making them suitable for humid bathrooms. Porcelain tiles, a type of ceramic, are even more robust and can handle high moisture levels better. On the other hand, natural stone tiles like marble or slate add an elegant touch but need specialized cleaning due to their porosity.
Identifying your bathroom floor tile types will help you choose the right cleaning products and techniques. For example, a mild detergent and a soft-bristled brush are suitable for ceramic and porcelain tiles. In contrast, natural stone tiles may require a pH-neutral cleaner to prevent etching. Regular cleaning routines and understanding these distinctions ensure that your bathroom tile cleaning is effective and safe for each specific type.
Tools and Materials Needed for Cleaning

When it comes to bathroom tile cleaning, having the right tools and materials is essential for achieving a sparkling and hygienic result. Start with a good quality floor scrubber or brush designed specifically for tiles. This will help agitate and loosen dirt and grime effectively. Additionally, invest in a powerful vacuum cleaner with an attachment suitable for hard floors; this will thoroughly remove dust, hair, and other debris from the grout lines.
Don’t forget the importance of cleaning solutions tailored for bathroom tile. Opt for a non-toxic, mild detergent or a specialized bathroom tile cleaner that cuts through soap scum and mineral deposits. White vinegar is also an excellent natural alternative. For extra shine and protection, consider using a floor wax or sealer formulated for ceramic or porcelain tiles. Always test any cleaning product in a small, discreet area first to ensure it doesn’t cause discoloration or damage.
Step-by-Step Guide to Deep Cleaning

Deep cleaning your bathroom tiles is a necessary task to keep your space hygienic and aesthetically pleasing. Here’s a step-by-step guide designed specifically for bathroom tile cleaning. Start by gathering all the required tools, including a vacuum cleaner with a small nozzle attachment, a brush, a bucket, mild soap or detergent, warm water, and a squeegee. Empty any trash from the bathroom and sweep the floor to remove loose dirt and debris. Using the vacuum cleaner, suck up any remaining dust or grit embedded in the grout lines. Next, prepare your cleaning solution by mixing a few drops of mild soap or detergent with warm water. Dip your brush into this solution and gently scrub the tiles, focusing on the grout lines where dirt tends to accumulate. After scrubbing for a few minutes, rinse the brush thoroughly in the bucket of soapy water to avoid transferring excess dirt onto clean areas. Rinse the floor using the squeegee, ensuring you remove all soap residue.
Removing Stains and Discolorations
When it comes to bathroom tile cleaning, removing stains and discolourations is a top priority for many homeowners. Over time, tiles can become discoloured due to water stains, soap scum buildup, or even mold growth, especially in humid environments. To tackle these issues effectively, start by identifying the type of stain. For water spots and mineral deposits, white vinegar or a commercial cleaner designed for bathroom tile can work wonders. Apply the cleaning solution directly to the stained area and let it sit for several minutes before scrubbing gently with a brush or sponge.
For more stubborn stains like those caused by urine or hard water, create a paste using baking soda and water. This natural scrub is safe for most tile types and can be left on for up to 30 minutes before being rinsed off. Regular cleaning and maintenance will help prevent future discolouration, keeping your bathroom tiles looking fresh and vibrant. Remember, proper Bathroom Tile Cleaning not only improves the aesthetic appeal of your space but also helps maintain a hygienic environment.
Sealing and Protecting Your Tiles
After thoroughly cleaning your bathroom tiles, sealing them is an essential step in maintaining their cleanliness and longevity. Sealing acts as a protective layer, preventing dirt, stains, and moisture from penetrating the tile surface. This is particularly crucial for bathrooms, where humidity and water exposure are frequent. By applying a high-quality sealer, you create a barrier that makes cleaning easier and extends the life of your tiles, saving you time and money in the long run.
When it comes to bathroom tile cleaning, regular sealing should be part of your maintenance routine. Look for sealers specifically designed for ceramic or porcelain tiles, as these materials are commonly used in bathrooms. Follow the manufacturer’s instructions for application, ensuring even coverage. Remember, a sealed tile surface will repel water and stains, making future cleaning efforts much simpler.
Maintenance Tips for Longevity

Regular maintenance is key to keeping your bathroom tiles looking their best and ensuring longevity. After each shower or bath, take a few minutes to wipe down the tile surfaces with a soft cloth or sponge and warm water. This simple step prevents soap scum and mineral buildup from setting in, making future cleaning much easier.
Once a week, deep clean your tiles using a gentle bathroom tile cleaner. Avoid harsh chemicals that can damage the grout and tile finish. Scrub away any stubborn stains or residue, then rinse thoroughly with water. For added protection, apply a waterproof sealer to both the tiles and grout every few months. This barrier helps repel moisture and dirt, making cleaning more effortless and maintaining the overall appearance of your bathroom floor tile cleaning routine.